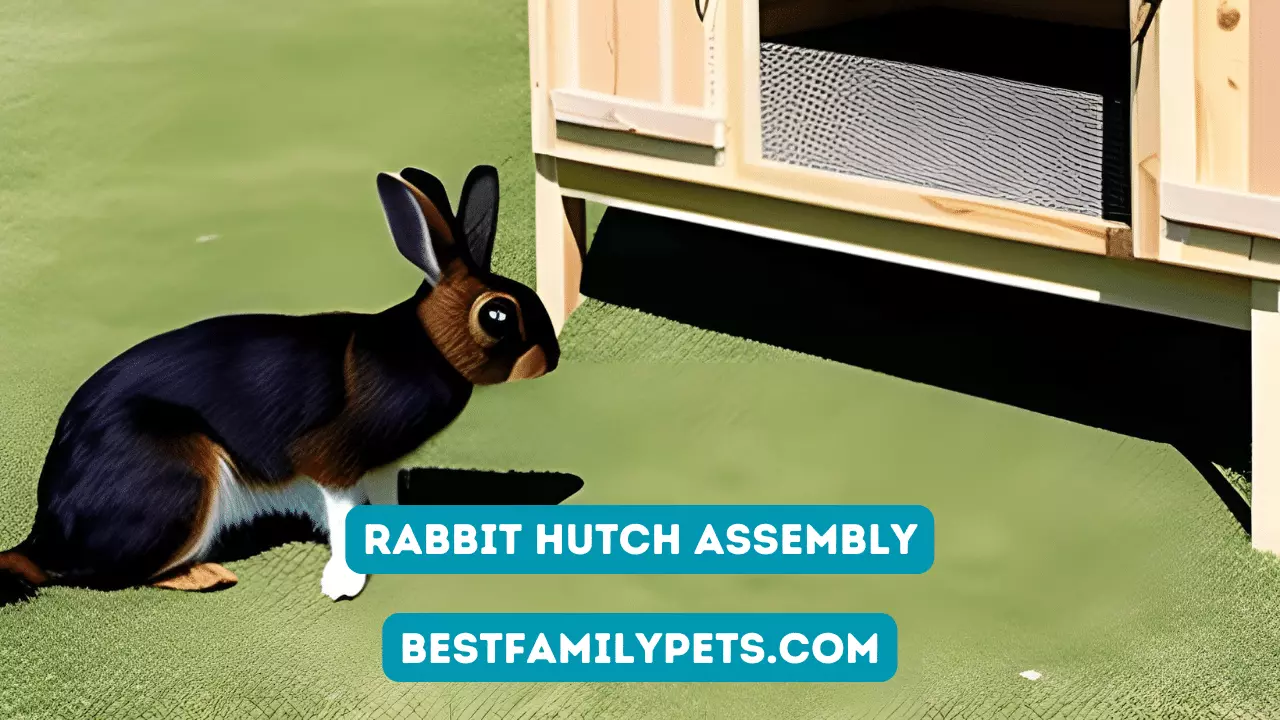
Rabbit Hutch Assembly: Tips and Tricks for Putting Together Your Rabbit’s New Home
Make assembling your rabbit hutch a breeze with these tips and tricks. Get your furry friend settled in their new home quickly and easily.
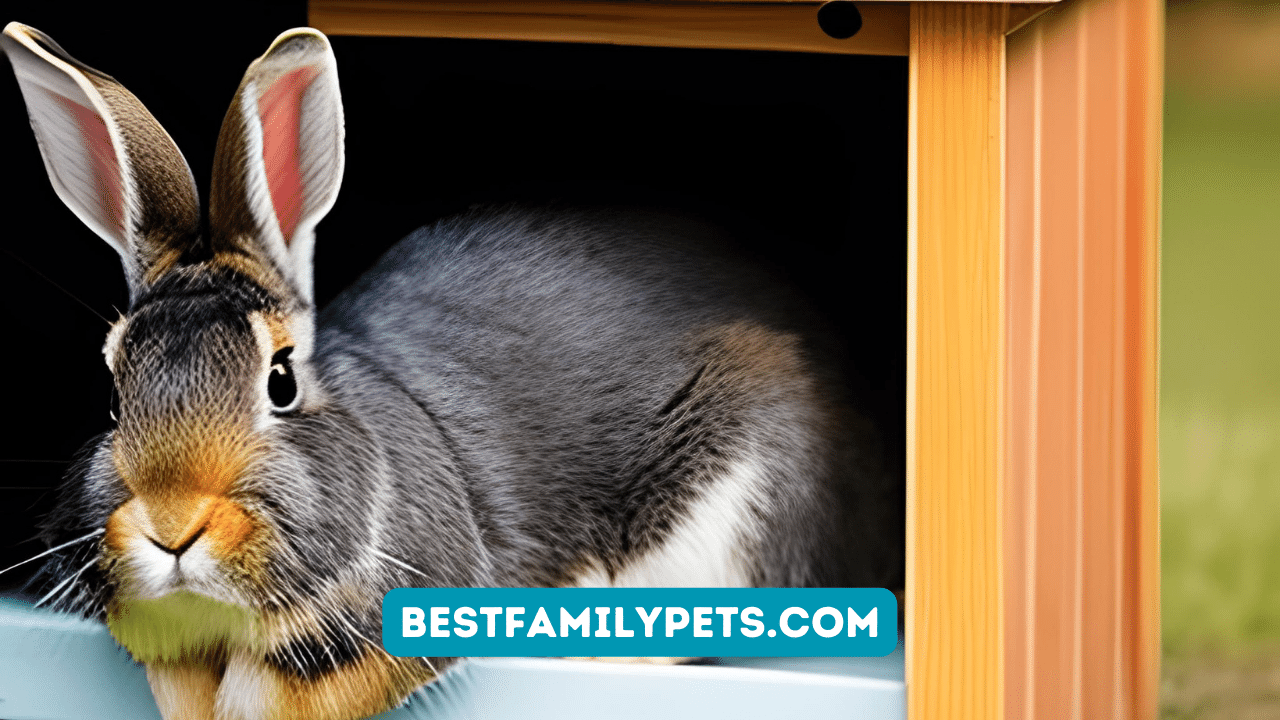
If you’re a rabbit owner, you know how important it is to provide your furry friend with a comfortable and safe living space. One option is to purchase a rabbit hutch, which can be a great way to give your rabbit plenty of room to move around, while also keeping them protected from predators and the elements. However, assembling a rabbit hutch can be a daunting task, especially if you’ve never done it before. In this article, we’ll provide some tips and tricks to help you assemble your rabbit’s new home with ease.
Choosing the Right Rabbit Hutch
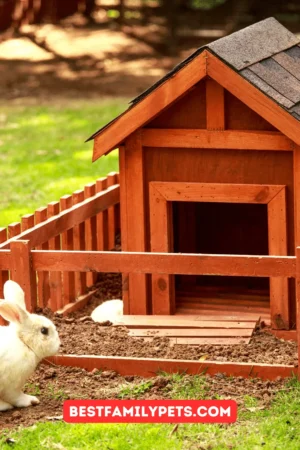
Before you even start assembling your rabbit hutch, it’s important to choose the right one. When selecting a hutch, consider the size of your rabbit and how much room they need to move around comfortably. You’ll also want to make sure the hutch is well-ventilated, easy to clean, and has a sturdy construction. Look for hutch materials that are durable and weather-resistant, such as wood or metal.
Choosing the Right Rabbit Hutch: What to Consider
Before assembling a rabbit hutch, it’s crucial to choose the right one. The hutch you select should be appropriate for the size of your rabbit and provide enough space for them to move around comfortably. In this article, we’ll discuss the key factors to consider when choosing a rabbit hutch.
Size Matters
The size of your rabbit’s hutch is critical to their health and happiness. Rabbits require plenty of space to hop, stretch, and move around. The minimum size for a rabbit hutch should be 4ft x 2ft x 2ft. However, it’s always better to go bigger if you have the space.
If you have a larger breed of rabbit, such as a Flemish Giant, you’ll need a larger hutch. Make sure to consider the full-grown size of your rabbit when selecting a hutch. If the hutch is too small, your rabbit may become stressed, which can lead to health problems.
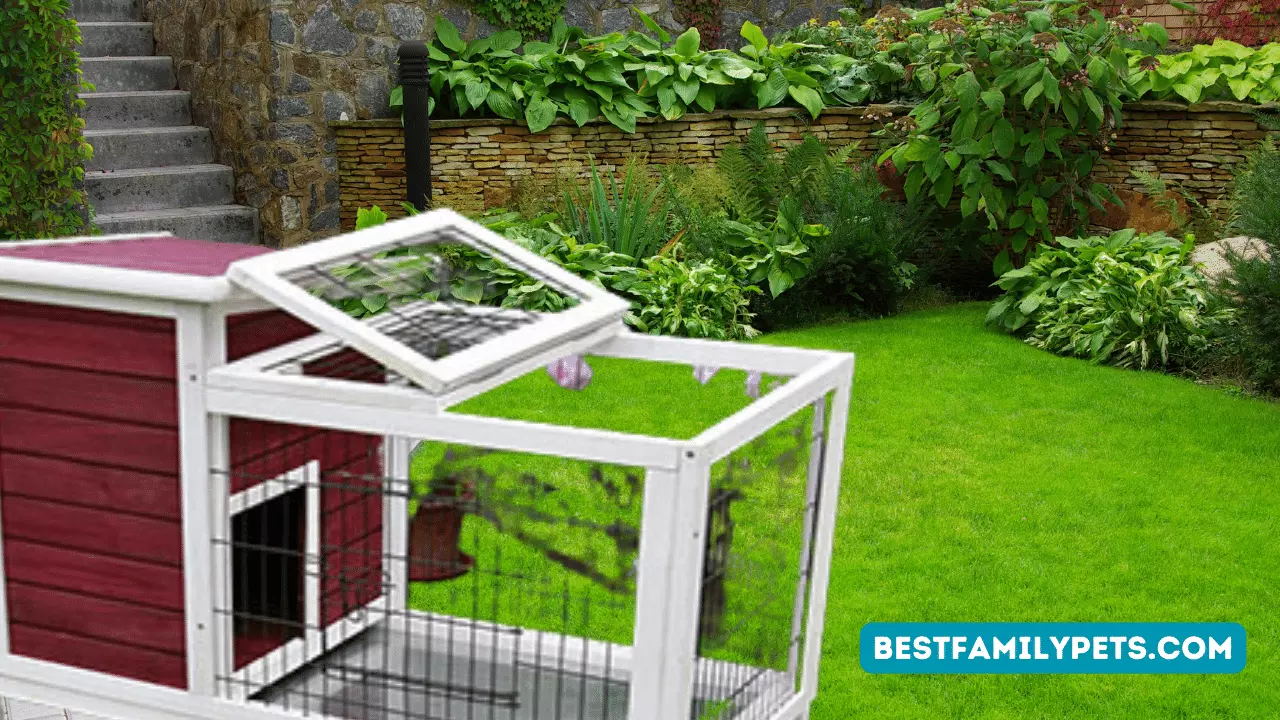
Ventilation and Hygiene
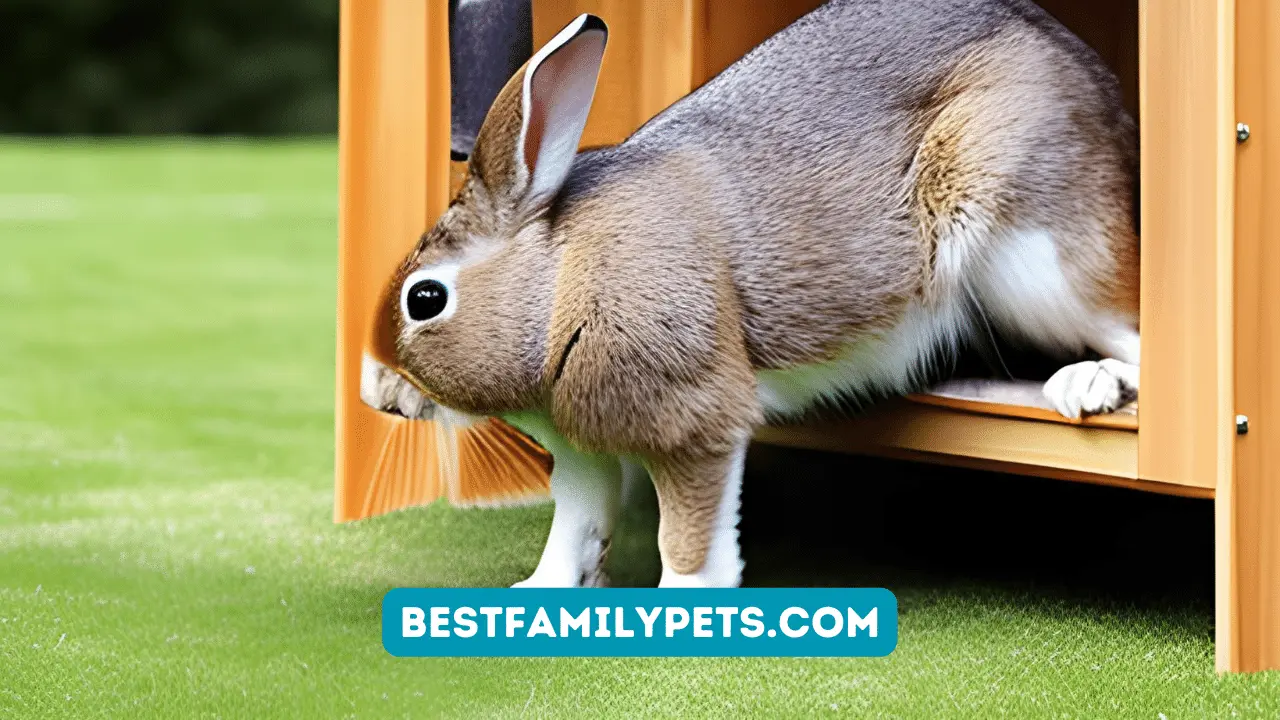
Proper ventilation is crucial for your rabbit’s health. A well-ventilated hutch helps prevent respiratory problems and keeps your rabbit cool in warm weather. Look for a hutch with mesh or wire panels that provide adequate airflow.
Additionally, choose a hutch that is easy to clean. A dirty hutch can lead to health problems, so it’s essential to keep it clean and hygienic. Look for a hutch with removable trays that make cleaning easy.
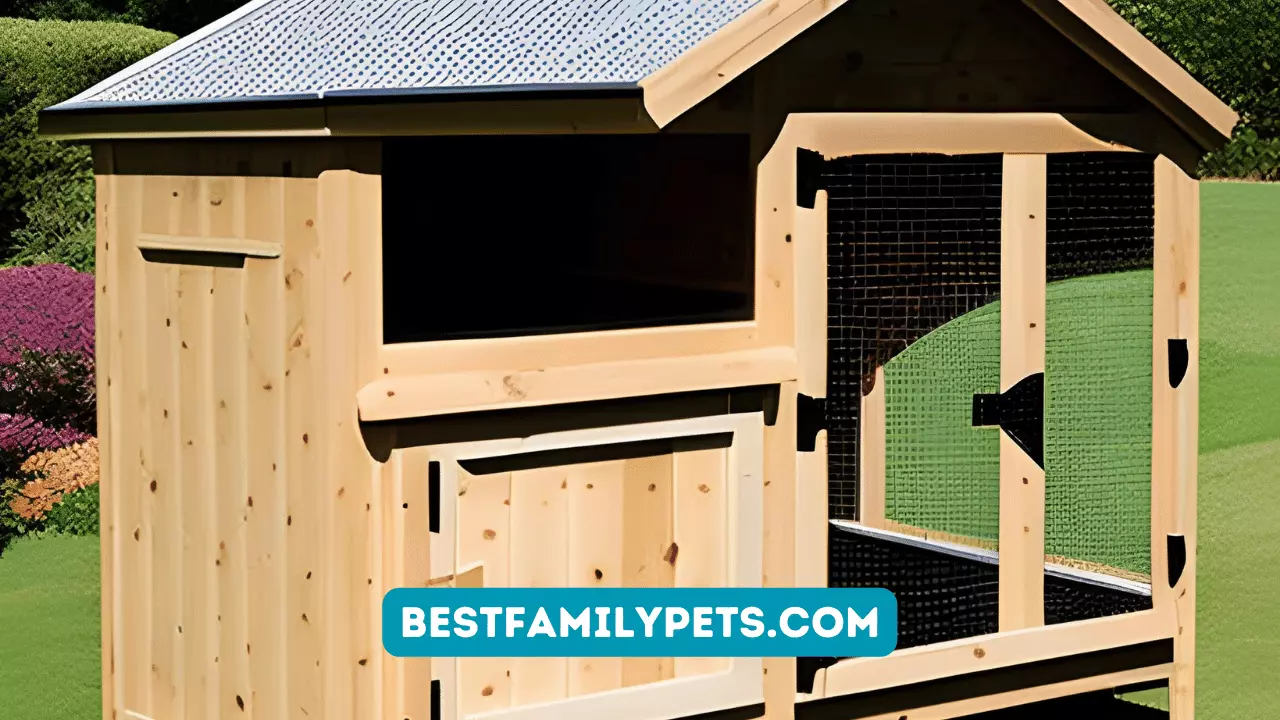
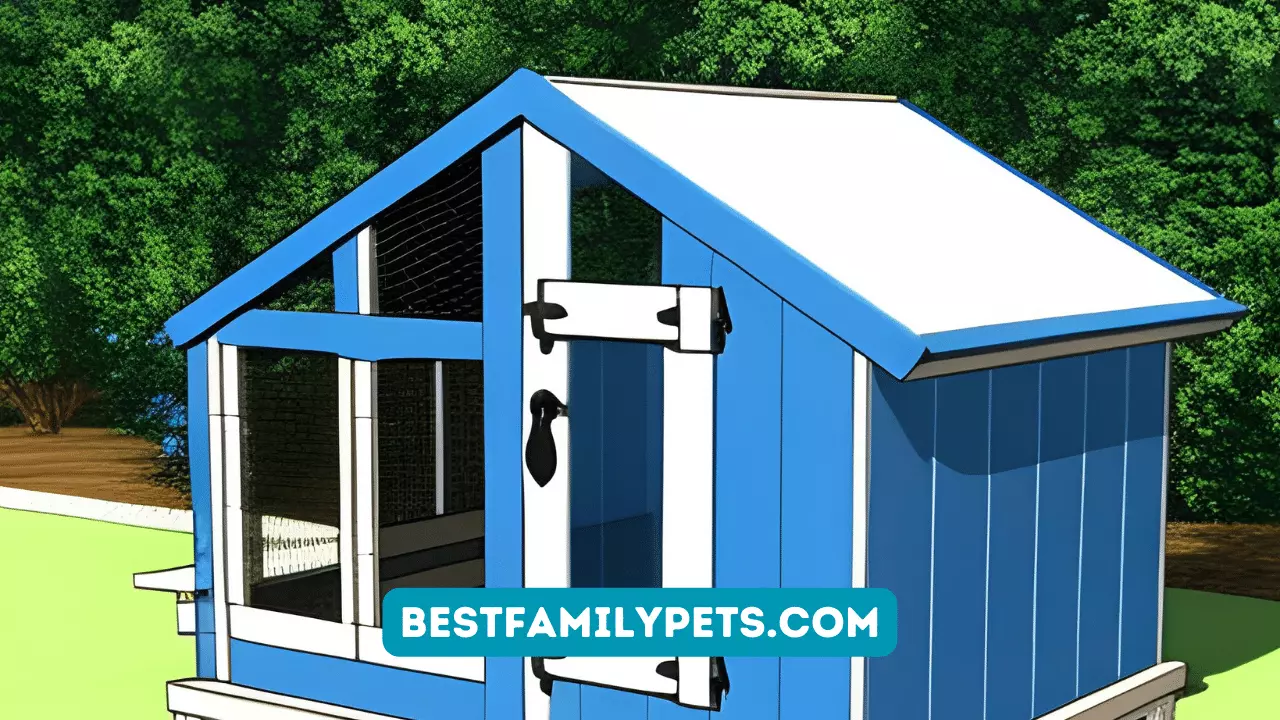
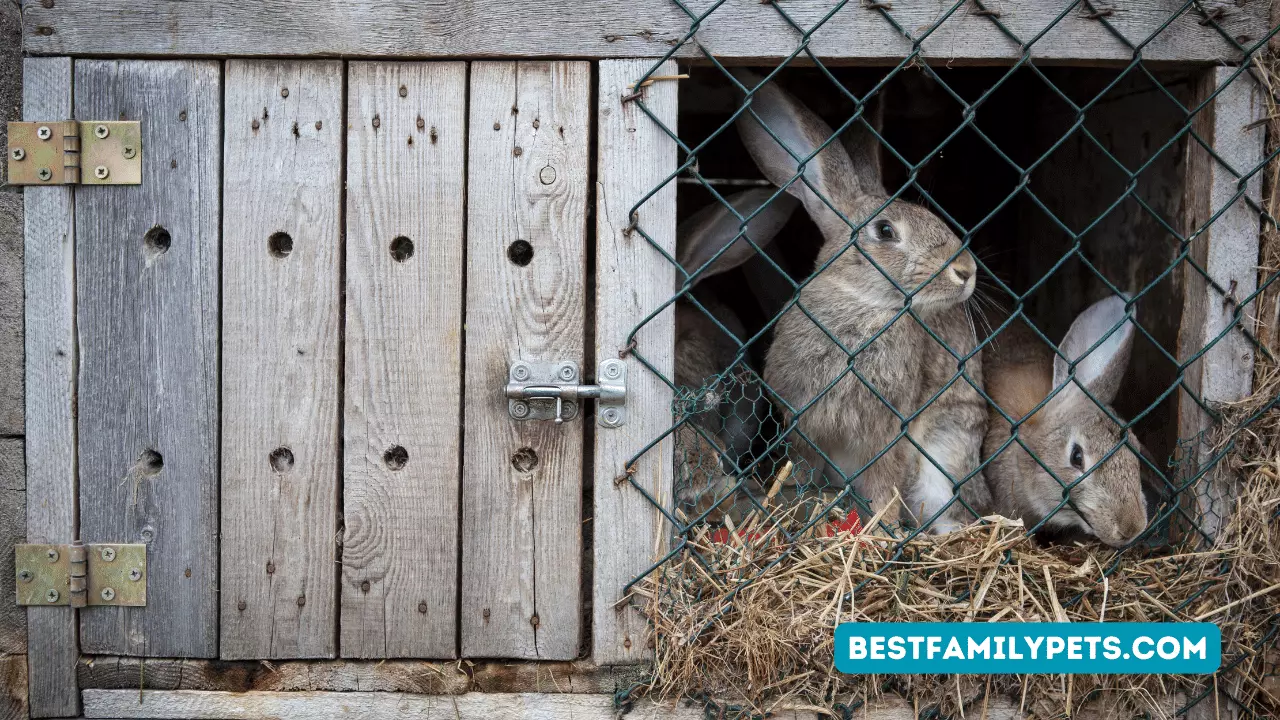
Sturdy Construction
Your rabbit’s hutch should have a sturdy construction to keep them safe and secure. Look for materials that are durable and weather-resistant, such as wood or metal. Avoid hutch materials that are flimsy or easily breakable, such as plastic.
Make sure the hutch has secure latches and locks to keep your rabbit safe from predators. A good hutch should also be stable and not wobble or tip over easily.
Location
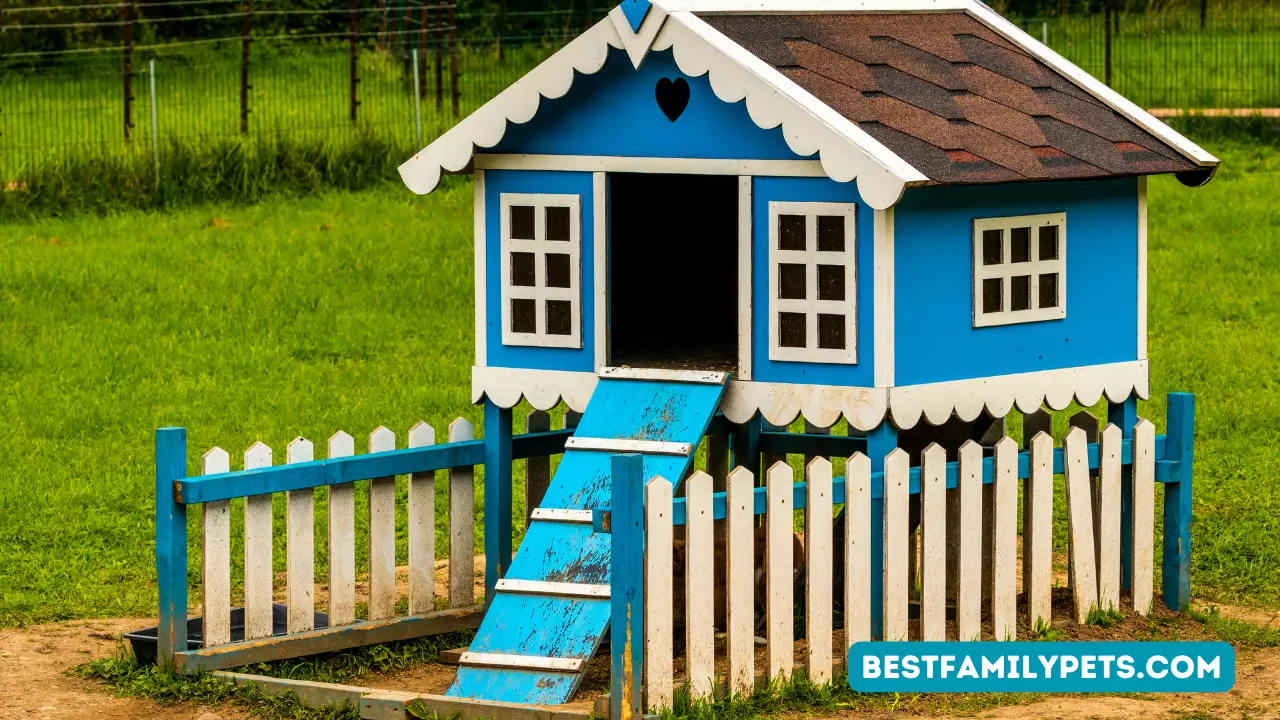
When selecting a hutch, consider where you will place it. Ideally, the hutch should be in a shaded area and protected from the wind and rain. Avoid placing the hutch in direct sunlight, as it can become too hot for your rabbit.
Overall, choosing the right rabbit hutch is critical to your rabbit’s health and happiness. When selecting a hutch, consider the size, ventilation, hygiene, construction, and location. By choosing a hutch that meets these criteria, you’ll provide a safe and comfortable home for your furry friend.
Preparing for Assembly
Once you’ve selected the right rabbit hutch, it’s time to prepare for assembly. Start by finding a suitable location for the hutch, such as a flat, level area that’s protected from wind and rain. Make sure you have enough space to move around and assemble the hutch, and that you have all the necessary tools and materials.
How to Prepare for Rabbit Hutch Assembly
Once you’ve chosen the right rabbit hutch, it’s time to prepare for assembly. Here are some steps to follow to make sure you’re ready to put together your new hutch:
Find the Right Location
The first step is to find a suitable location for your hutch. Look for a flat, level area that’s protected from wind and rain. Ideally, the hutch should be in a shaded area, away from direct sunlight.
Make sure you have enough space to move around and assemble the hutch. Clear the area of any obstacles, such as rocks or branches, to make it easier to work.
Gather Your Tools and Materials
Before starting assembly, make sure you have all the necessary tools and materials. Check the hutch’s instructions to see what’s included and what additional tools you’ll need. Common tools required for hutch assembly include a screwdriver, hammer, and pliers.
It’s also a good idea to have a helper available, as some parts of the assembly may be easier with an extra set of hands.
Read the Instructions
Before starting assembly, read the hutch’s instructions thoroughly. Make sure you understand each step before proceeding. If you’re unsure about something, don’t hesitate to consult the manufacturer’s website or customer service for assistance.
Lay Out the Parts
Once you’ve read the instructions, lay out all the parts of the hutch. Check that you have everything you need and that all the parts are in good condition. If any parts are missing or damaged, contact the manufacturer immediately to request replacements.
In summary, preparing for rabbit hutch assembly involves finding the right location, gathering your tools and materials, reading the instructions, and laying out the parts. By following these steps, you’ll be ready to assemble your new hutch and provide a comfortable home for your furry friend.
Tools You’ll Need
To assemble your rabbit hutch, you’ll need a few basic tools, including a screwdriver, hammer, pliers, and a measuring tape. You may also need a saw or drill if you need to make any adjustments to the hutch during assembly. Check the manufacturer’s instructions to see if any special tools are required.
Tools Needed to Assemble a Rabbit Hutch
Assembling a rabbit hutch requires a few basic tools. Here are the tools you’ll need to assemble your hutch:
Screwdriver
A screwdriver is a must-have tool for hutch assembly. Most hutch kits come with screws that need to be tightened with a screwdriver. A Phillips head screwdriver is usually required.
Hammer
You’ll also need a hammer to insert nails and secure wooden panels together. A rubber mallet can also be used instead of a hammer to avoid damaging the wood.
Pliers
Pliers may be needed to help tighten screws or bolts that are difficult to reach with a screwdriver. They can also help you adjust wire mesh panels to fit properly.
Measuring Tape
A measuring tape is useful for checking the dimensions of the hutch and ensuring that everything is level and properly aligned.
Saw or Drill
Depending on the hutch kit you choose, you may need a saw or drill to make adjustments during assembly. If the hutch doesn’t fit perfectly or if you need to make a few modifications, a saw or drill can be very helpful.
Manufacturer’s Instructions
In addition to these tools, it’s important to read the manufacturer’s instructions carefully to see if any special tools are required. Some hutch kits may require specialized tools, such as a specific type of screwdriver or wrench.
In summary, assembling a rabbit hutch requires a few basic tools, including a screwdriver, hammer, pliers, measuring tape, and possibly a saw or drill. Make sure to read the manufacturer’s instructions carefully to see if any special tools are required. With the right tools and instructions, assembling a rabbit hutch can be a simple and straightforward process.
Step-by-Step Assembly Instructions
Now it’s time to start assembling your rabbit hutch. Follow these step-by-step instructions to ensure a smooth assembly process:
- Lay out all the parts and pieces of the hutch, and check that you have everything you need before you start.
- Start by assembling the frame of the hutch. Connect the vertical and horizontal pieces with screws and brackets, making sure everything is securely tightened.
- Attach the sides of the hutch to the frame, using screws to secure them in place.
- Install the floor of the hutch, making sure it’s level and flush with the sides.
- Add any additional features, such as ramps or nesting boxes, following the manufacturer’s instructions.
- Install the roof of the hutch, making sure it’s securely fastened and watertight.
Tips for a Smooth Assembly Process
Assembling a rabbit hutch can be a time-consuming and challenging task, but there are a few tips and tricks that can make the process smoother:
- Read the instructions thoroughly before you start, and make sure you understand each step before you begin.
- Lay out all the parts and pieces of the hutch in an organized manner, so you can easily find what you need.
- Consider enlisting the help of a friend or family member to make the process quicker and easier.
- Take breaks as needed to avoid becoming frustrated or fatigued.
- Use a cordless drill or screwdriver to speed up the process and make it easier on your hands.
Common Mistakes to Avoid
Assembling a rabbit hutch can be a complicated process, and there are some common mistakes to avoid:
- Not reading the instructions thoroughly before starting assembly
- Forgetting to check that you have all the necessary parts and materials before starting assembly
- Not securing screws and brackets tightly enough, leading to a wobbly or unstable hutch
- Installing the roof or floor incorrectly, causing leaks or gaps
- Assembling the hutch in the wrong location, such as on an uneven surface or in an area that’s too exposed to the elements
Maintaining Your Rabbit Hutch
Once you’ve assembled your rabbit hutch, it’s important to keep it clean and well-maintained to ensure your rabbit stays healthy and happy. Regularly remove any soiled bedding or waste from the hutch, and clean the hutch with a mild soap solution and water as needed. Check the hutch regularly for any signs of wear or damage, and make repairs as necessary.
The Innovation Pet X-Large Superior Chicken Coop 220-39
The Innovation Pet X-Large Superior Chicken Coop 220-39 is a top-of-the-line chicken coop designed to offer your chickens a comfortable and secure living space. Whether you are a seasoned chicken keeper or just starting out, this coop is perfect for anyone looking to raise chickens in their backyard or small farm.
Spacious Design
One of the key features of the Innovation Pet X-Large Superior Chicken Coop 220-39 is its spacious design. The coop measures 72″ x 48″ x 36″, providing ample room for your chickens to move around and engage in natural behaviors like scratching and dust bathing. The coop also features a spacious nesting box, allowing your chickens to lay eggs comfortably.
High-Quality Construction
The Innovation Pet X-Large Superior Chicken Coop 220-39 is built to last. It is constructed with high-quality materials, including solid wood and stainless steel hardware, ensuring durability and longevity. The coop is also designed to be weather-resistant, protecting your chickens from the elements.
Easy Access and Cleaning
Keeping your coop clean and maintaining your chickens’ health is easy with the Innovation Pet X-Large Superior Chicken Coop 220-39. The coop features multiple access points, making it easy to reach all areas of the coop for cleaning and maintenance. The removable metal tray also makes cleaning up after your chickens a breeze.
Safe and Secure
The safety of your chickens is a top priority, and the Innovation Pet X-Large Superior Chicken Coop 220-39 delivers. The coop features a secure locking mechanism, keeping your chickens safe from predators. The coop also features a sturdy wire mesh design, allowing for ventilation while keeping your chickens safe and secure.
Overall, the Innovation Pet X-Large Superior Chicken Coop 220-39 is an excellent choice for anyone looking for a high-quality and spacious chicken coop. With its durable construction, easy access and cleaning, and secure design, your chickens will be happy and healthy in their new home.
Frequently Asked Questions
How long does it take to assemble a rabbit hutch?
Assembly times can vary depending on the size and complexity of the hutch, as well as your level of experience with assembly. Allow several hours to complete the process.
Do I need any special tools to assemble a rabbit hutch?
Basic hand tools such as a screwdriver and hammer are usually sufficient, although some hutch models may require additional tools.
Can I assemble a rabbit hutch by myself, or do I need help?
While it’s possible to assemble a rabbit hutch by yourself, having a second person to help can make the process quicker and easier.
How often should I clean my rabbit hutch?
Aim to clean the hutch at least once a week, although you may need to clean it more frequently if your rabbit is particularly messy or if you have multiple rabbits in the hutch.
Can I customize my rabbit hutch with additional features?
Yes, many rabbit hutches can be customized with additional features such as ramps, nesting boxes, or play areas. Just make sure to follow the manufacturer’s instructions and ensure any additional features are safe and secure for your rabbit.
Conclusion
Assembling a rabbit hutch may seem daunting, but with the right tools and instructions, it can be a manageable task. By following these tips and tricks, you can ensure a smooth assembly process and provide your rabbit with a comfortable and safe living space. Remember to take your time, read the instructions carefully, and maintain the hutch regularly to ensure your rabbit stays happy and healthy.
-

How to Choose a Rabbit Hutch: A Guide for Happy Hoppers
-
Is Buying a Second-Hand Rabbit Hutch a Good Idea?
-
Trixie Natura Rabbit Hutch With Outdoor Run
-
Rabbit Hutches, Cages & Houses for Sale in Melbourne
-
The Great and Small Rabbit Hutch: Finding the Perfect Fit
-
Is a 4-Foot Rabbit Hutch the Right Size for Your Pet?
-
Free Rabbit Hutch Plans: A Comprehensive Review and Step-by-Step Guide
-
Winterizing Rabbit Hutch: Creative DIY Thermal Cover Solutions for Rabbits & Chickens
-
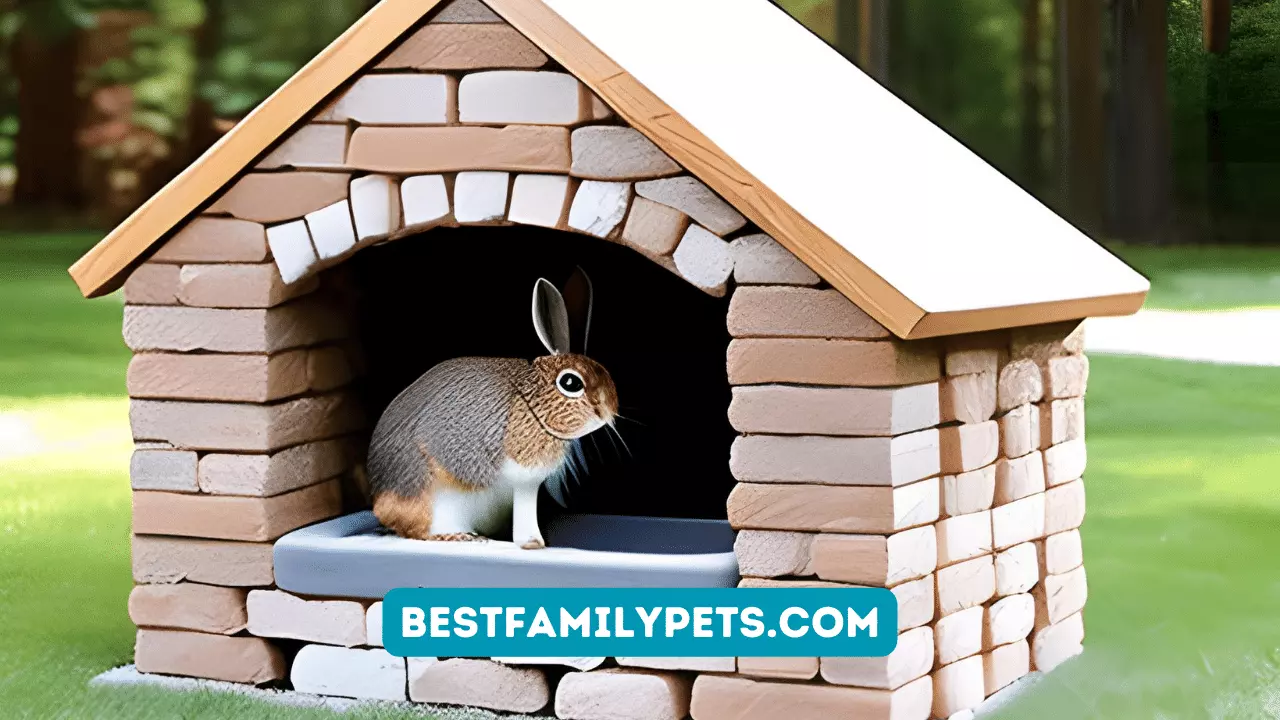
Brick Rabbit Hutches: Pros and Cons
-
Rabbit Hutch Ideas: Simple and Low-Cost DIY Options
-
Blueprint for Success: Building the Perfect Rabbit Hutch
-
Top 34 Rabbit Hutches for Sale
-
Rabbit Hutch Liners vs. Traditional Bedding: Which Is Right for Your Bunny?


About the Author
