How To Clean And Maintain A Chicken Coop?
Keep your chickens happy and healthy with our expert tips! Learn how to clean and maintain your chicken coop for optimal results
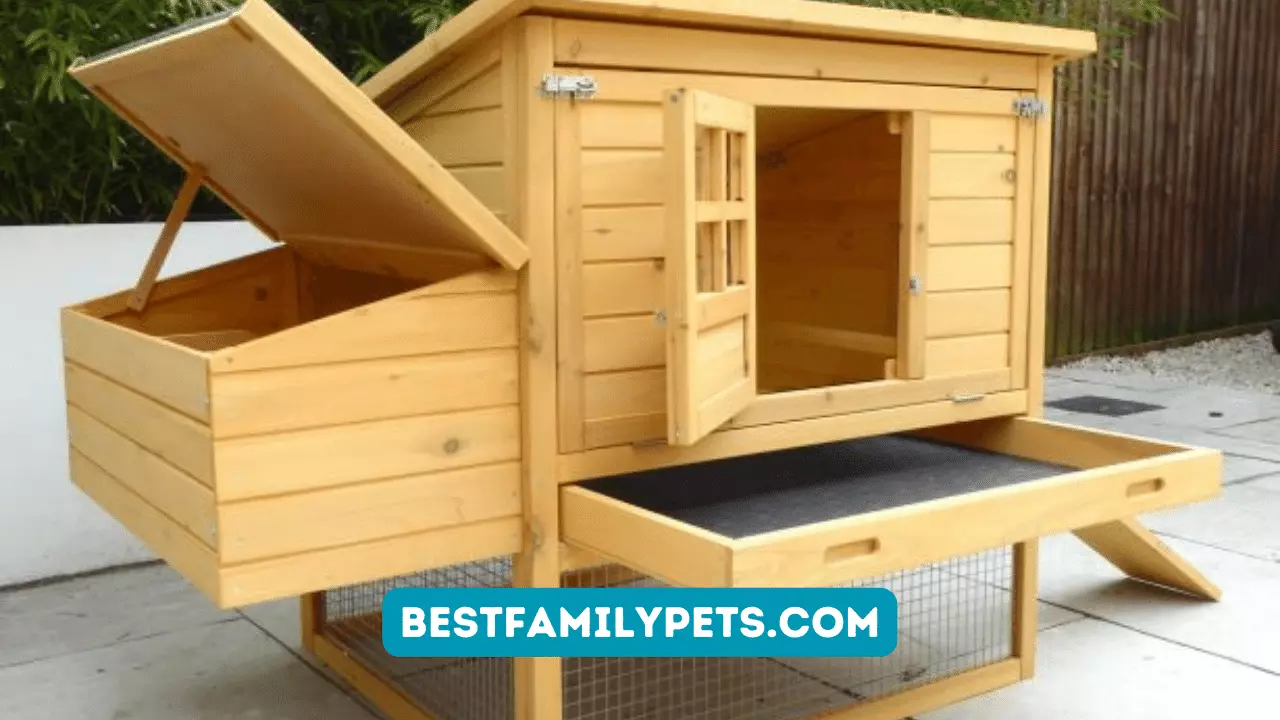
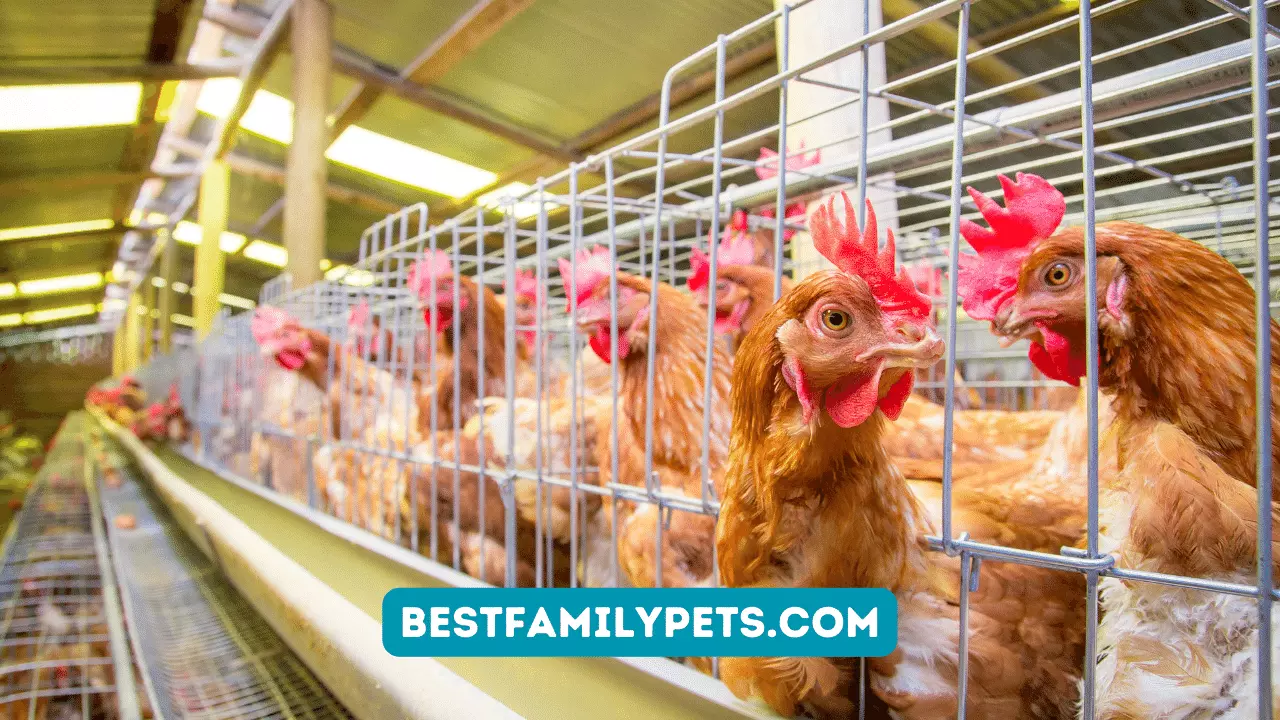
When you are in the poultry business, having the best chicken coop is very important. It should have everything your birds need and everything you need to make the entire process easier and fun for you. Needless to say, the condition of your chicken coop greatly affects the wellbeing of your chicken.
In order to create a healthy environment for your birds it is very important to clean and disinfect your coop from time to time.
A cluttered and disorganized coop can prove to be fatal not just for your chicken but for you as well, as there have been numerous cases of viruses and bacteria being transferred to humans through chicken and chicken meat.
Grow Chicken discusses all the modern and proven ways to raise chickens.
In this article I will introduce you to a list of tips and suggestions that will help you keep a clean and disinfect a chicken coop.
The Deep Litter Method
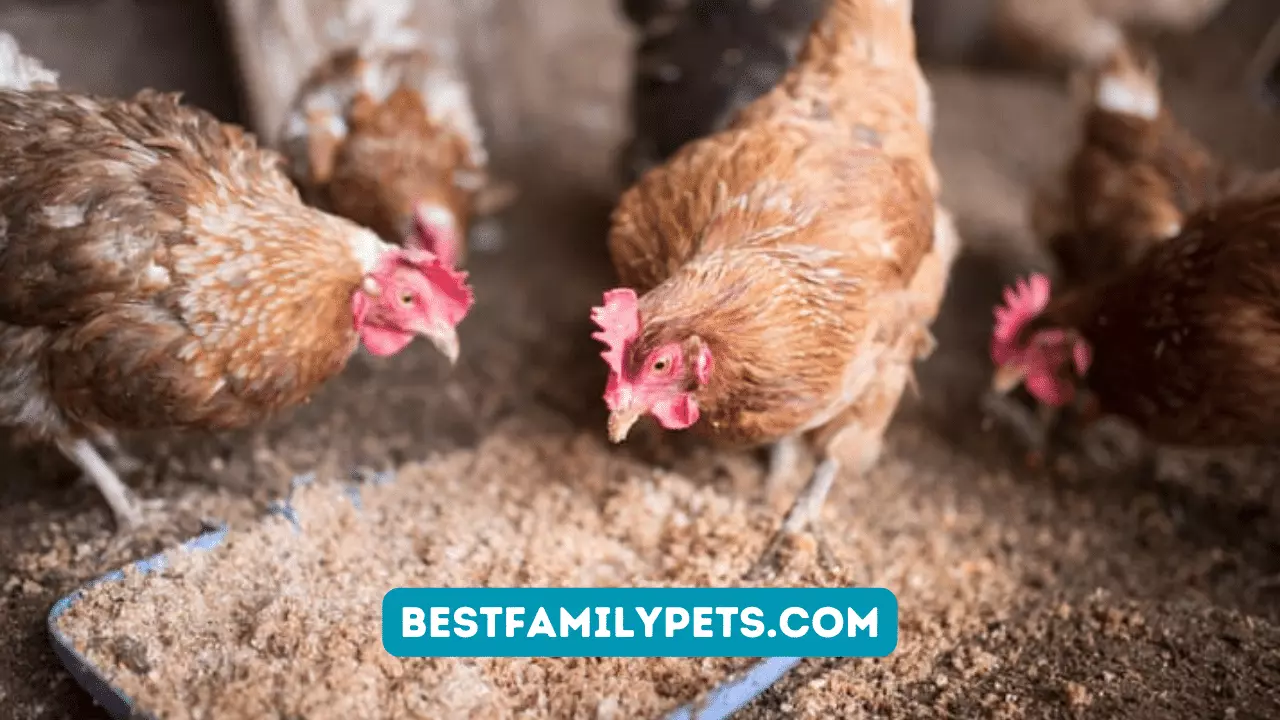
The deep litter method is a system where you can add an organic material (Usually pine shavings, hemp etc.) at the bottom of the floor as a bedding. Pine shavings are the most preferred as they’re the cheapest option.
Once you have purchased a fresh set of pine shavings, lay a layer of them on the floor of the coop where the chickens would perch and as they poop, that poop mixes with the pine shavings and it will automatically start composting.
Now, before you lay the pine shavings on the chicken coop floor, make sure you clean the whole thing beforehand.
Once you have the coop cleaned out to your liking, add about 6 inches of pine shavings to the bottom of your coop, and then once a week or maybe once every two weeks, stir up the pine shavings.
When your bed starts settling down add 3 to 6 more inches of pine shavings on top of it.
If you have trouble stirring up your bed, a good technique is to throw in some chicken treats on the bed, let the chickens peck on it and they’ll basically do the job for you, furthermore, it also helps keep the chicken active.
Cleaning should be preferably done during the fall as by the fall time you will have much better composting material because of the heat. Hence, the composting process is more effective during summers.
Benefits of Deep Litter Method
1. It makes a great fertilizer for your lawn.
2. The composting process will generate heat which helps keep the chicken warm at night
3. It helps propagate the growth of good microbes which are good for your chicken.
Step By Step Methodology
As we have established the importance of the deep litter method here are some steps that will help you carry out the process in a much more effective manner
1. Vacate the Chickens from the Coop
Needless to say, that in order to effectively clean your coop it is very necessary that you remove all your chickens out as it would prove to be very difficult to properly clean the coop with chickens hustling all around you.
A great idea would be to have their wings clipped so that they don’t flee out of your reach.
2. Clean the Floor Of your Coop
Over time your chicken floor gets accumulated with layers of dropping, feathers, and dirt. This could prove to be very hazardous to the health of your birds as well as your health.
With the help of a shovel rake out the dirt and dispose it off the dirt should be cleaned with a nontoxic cleaner, once you’re done cleaning the floor swipe it off with a broom.
3. Hose Down the Floor
A high-power hose is the most helpful tool in order to clean the coop. After you’re done cleaning the floor and getting all the dirt off hose the floor properly making sure that the floor is squeaky clean.
It is very important that you drain the water properly and wipe the floor dry after use, as the remnant water might accumulate more dirt over time.
4. Spray the Coop Cleaner
A good coop cleaner is extremely necessary in order to keep the coop free from unwanted bacteria, if there was blood on your coop floor simply wiping the blood off with water might not be enough.
Once you’re done spraying the coop cleaner make sure you scrub it off with a stiff-bristled brush in circular motions as it’s the most effective way.
5. Apply Diatomaceous Earth (DE)
DE is a fine powder like substance which is made from fossilized algae and is used to ward off ticks, mites, digestive worms and other pests. The amount of DE used varies with the size of your coop. Sprinkle the DE throughout the coop with a small spoon while alternatively use a duster to apply it.
It is very important that you use a food grade DE
While applying the DE make sure that you use masks as it can cause inflammation in your lungs.
6. Place the New Bedding
Add a fresh batch of pine shavings keep it 6 inches deep so that the chickens have enough space to manoeuvre
7. Invite Your Chickens Back in
Once you’re done applying the new bedding it’s time to invite your chickens back in, let your chicken in one by one so that they don’t hurt each other on entry.
8. Set the Appropriate Cleaning Schedule
Setting the appropriate cleaning schedule is very necessary. The frequency of cleaning your chicken coop is directly proportional to the number of chickens and inversely proportional to the size of your coop.
Final Words
Once you’re ready to clean the floor, scoop all the compost out in a wheel barrow. If you notice some stubborn gunk, you could always use a spray to clean the surface. Once you have a clean floor then just top it back up with some fresh bedding.
Meaning, the more chickens you have the more often you clean the coop and the smaller the size of your coop the more often you clean it.
I hope this article has helped you maintain your chicken coop in the most efficient way possible.
You may also like these:
-

Innovative Chicken Nesting Box Designs for Healthier Flocks
-
How To Clean And Maintain A Chicken Coop?
-
The Innovation Pet X-Large Superior Chicken Coop (220-39)
-
Different Breeds of Broilers Chicken
-
The Best Breeds of Broiler Chickens for Meat Production
-
Finding A Feed Mill Near You: Tips And Resources
-
Top 10 Best Selling List for Chicken Collectables
-
The Basics of Growing Healthy Poultry


About the Author